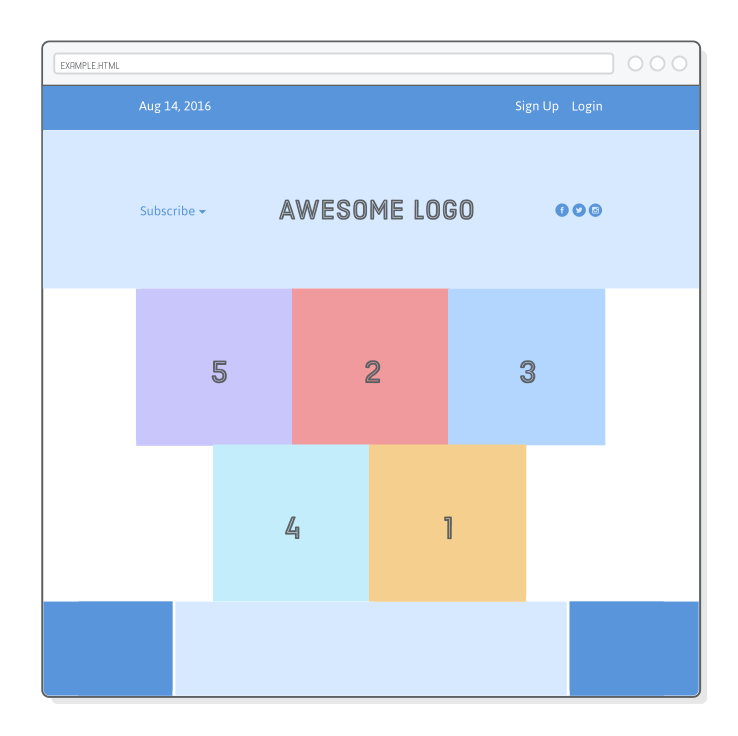
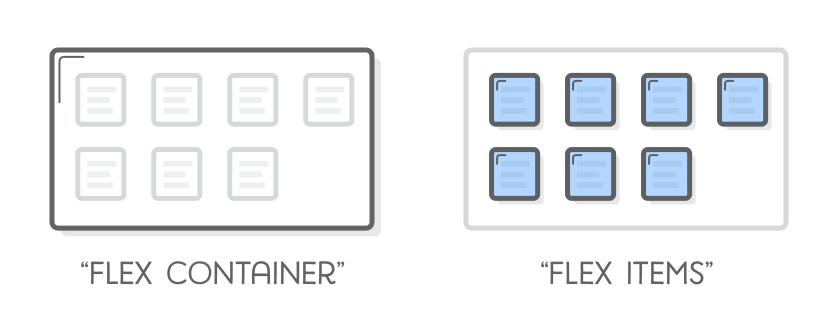
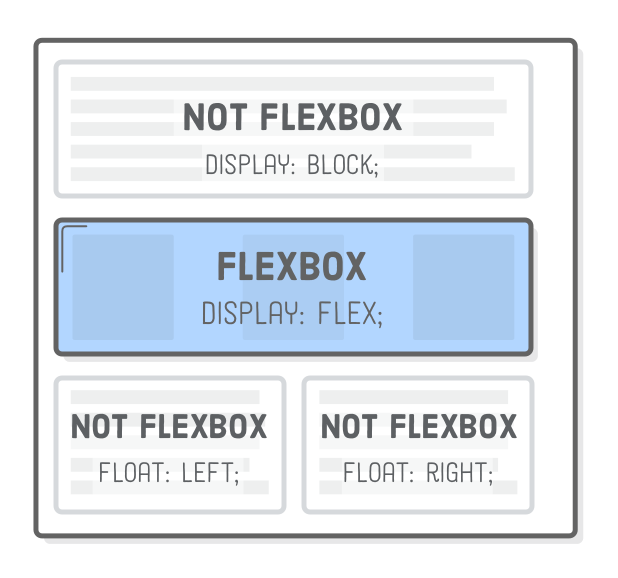
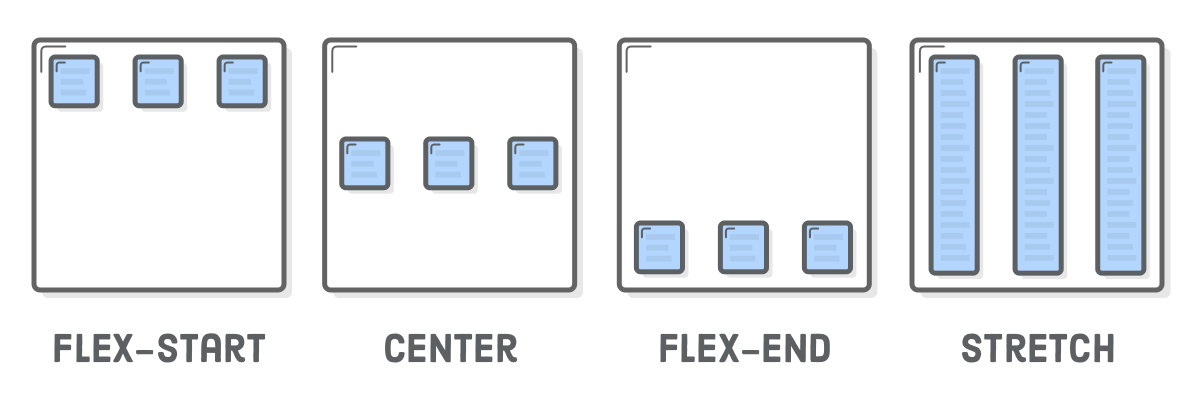
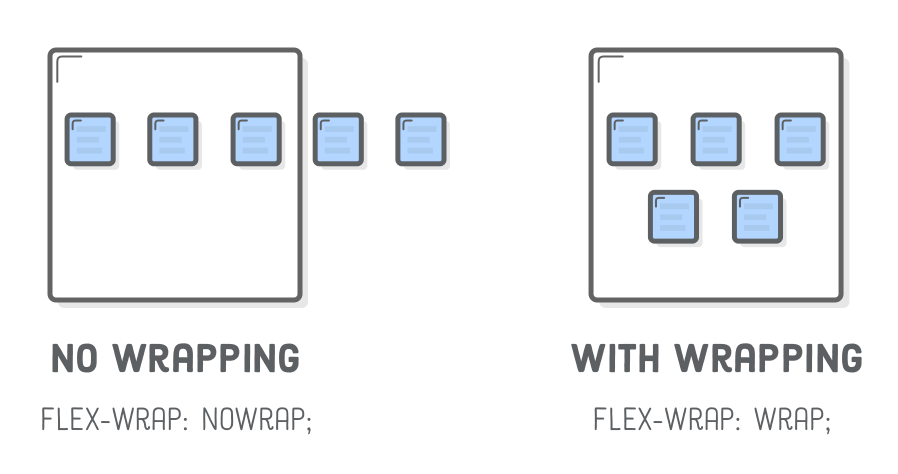
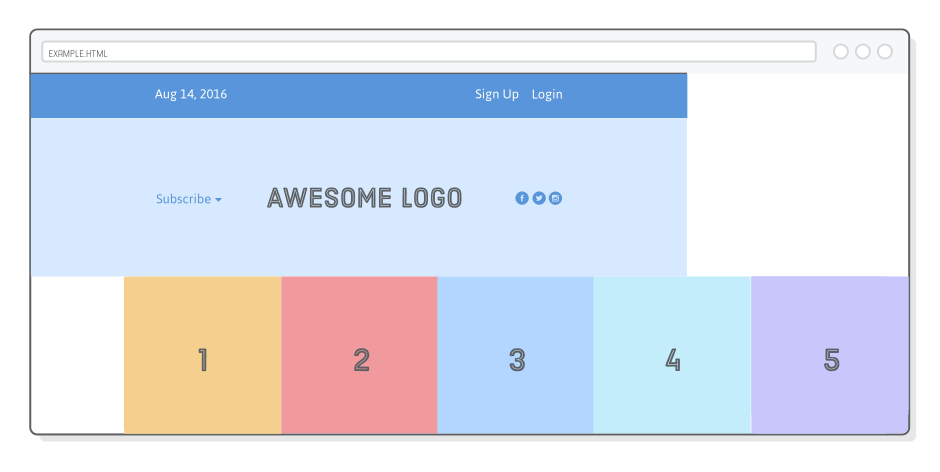
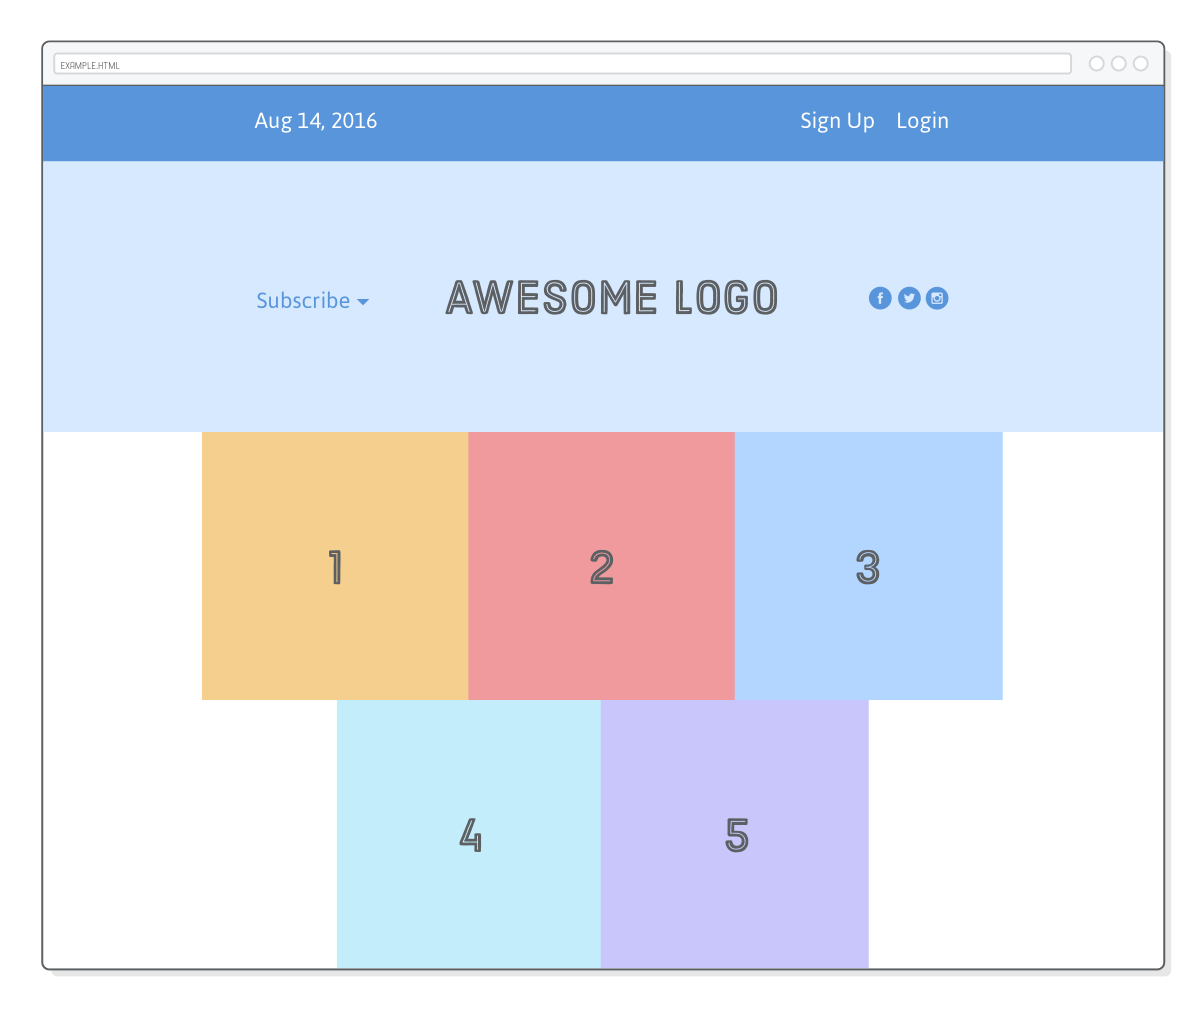
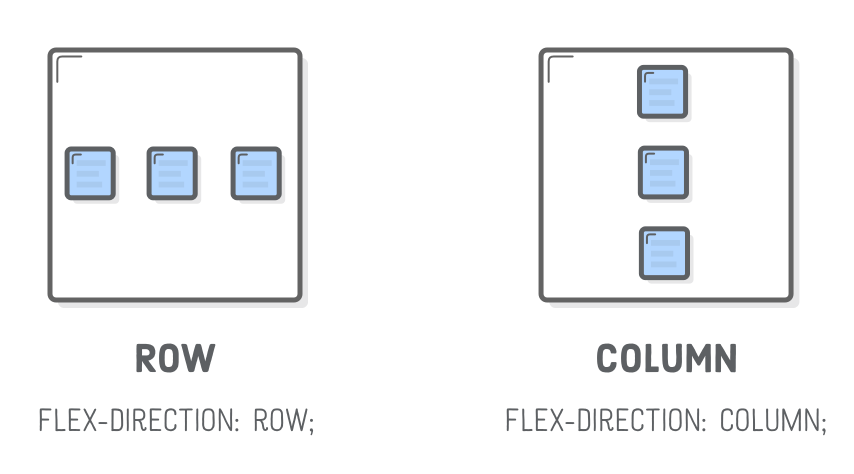
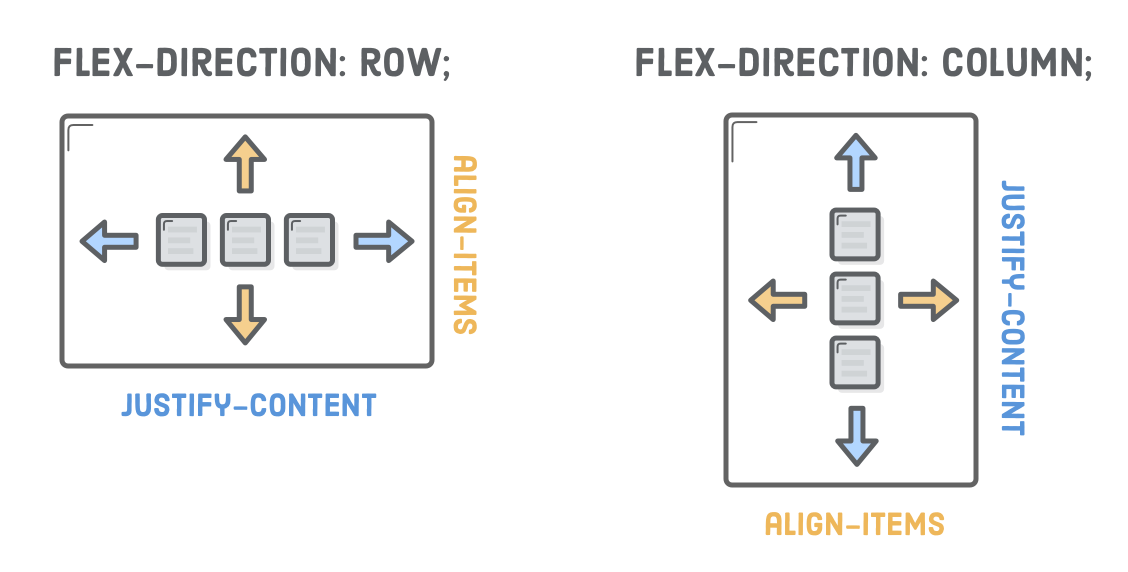
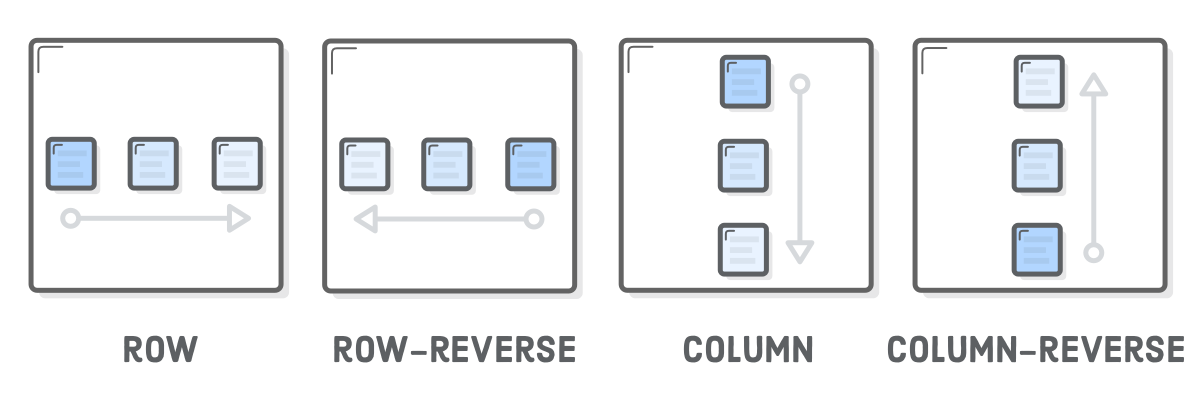
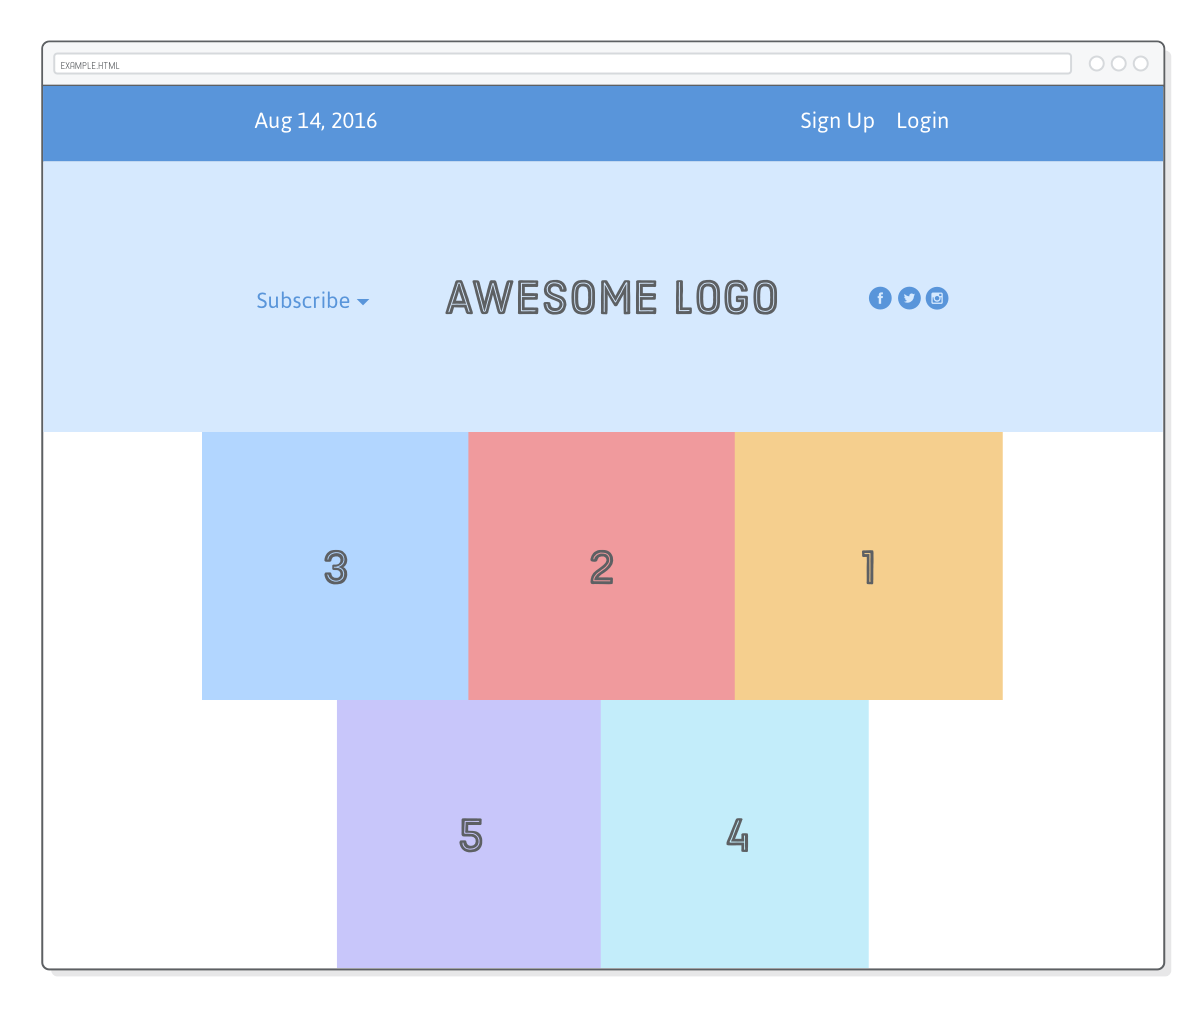
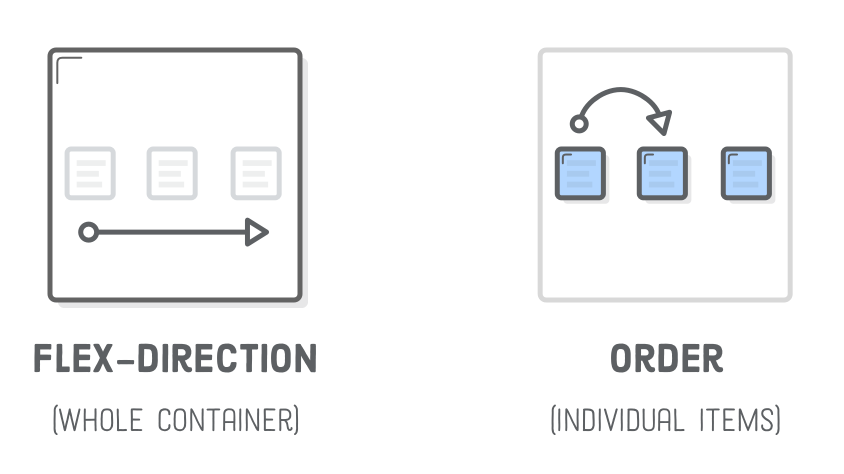
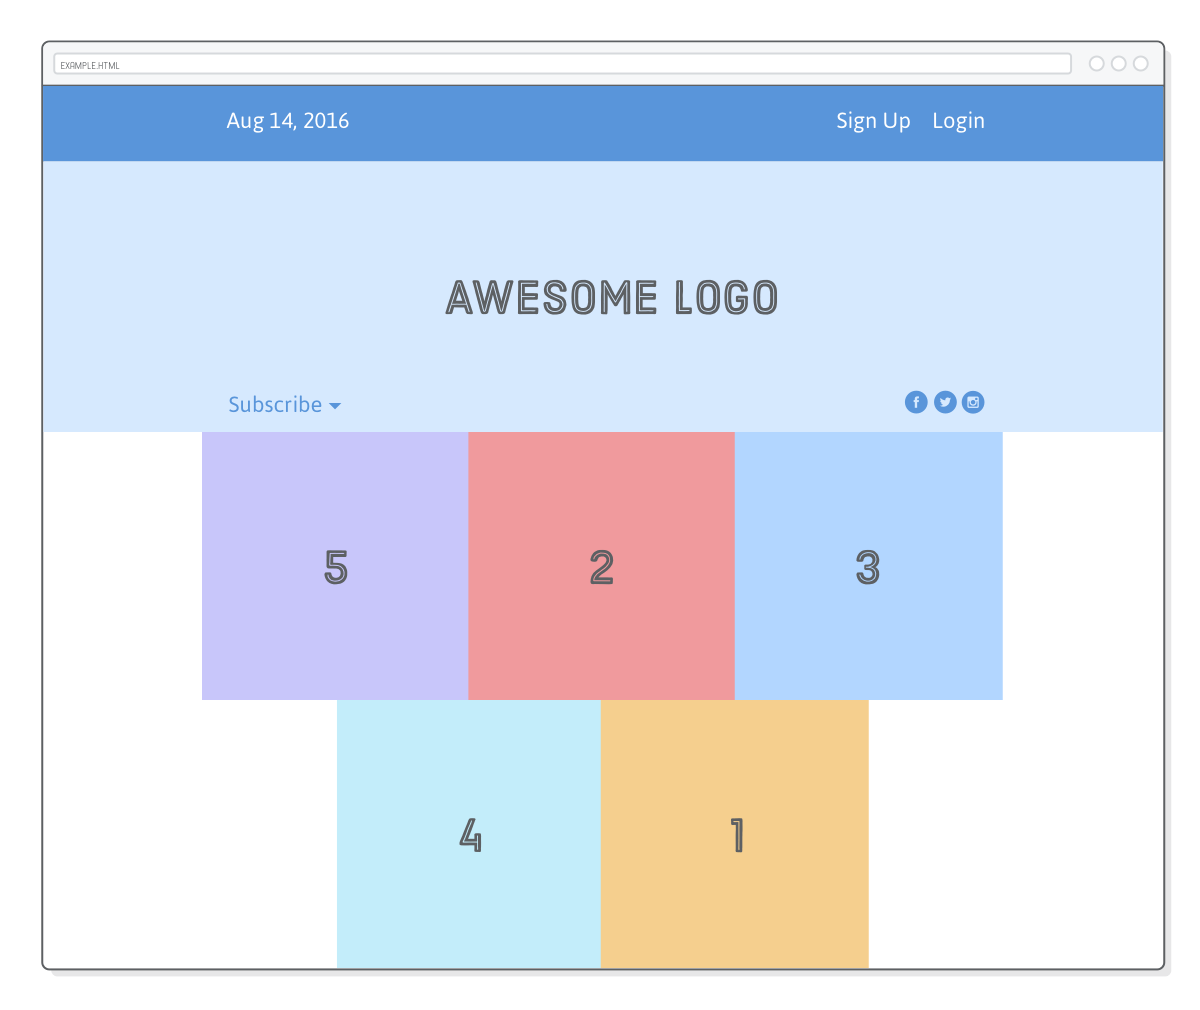
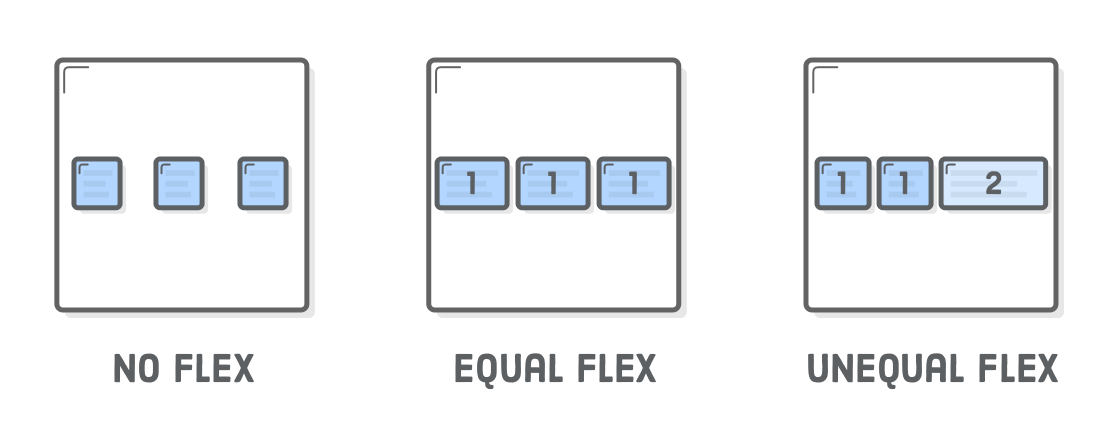
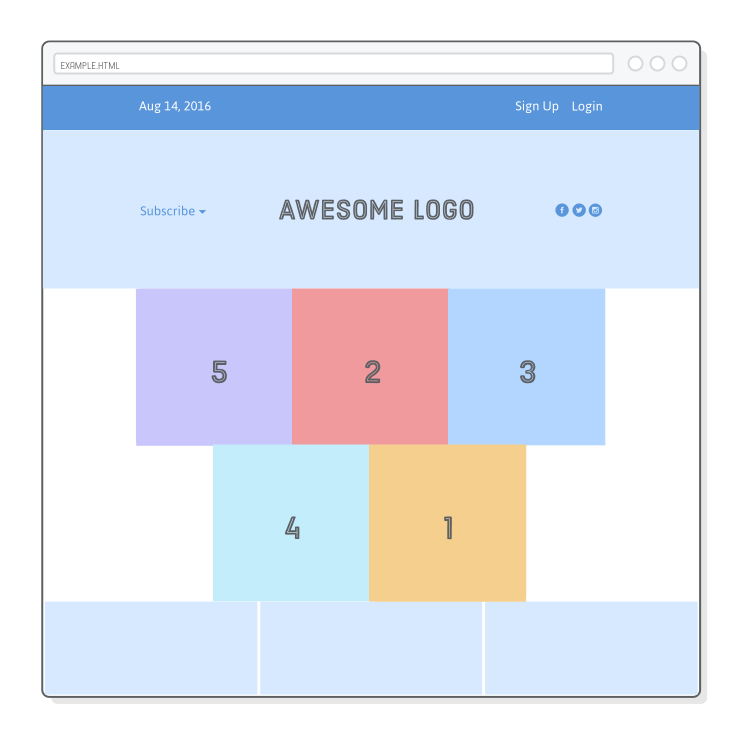
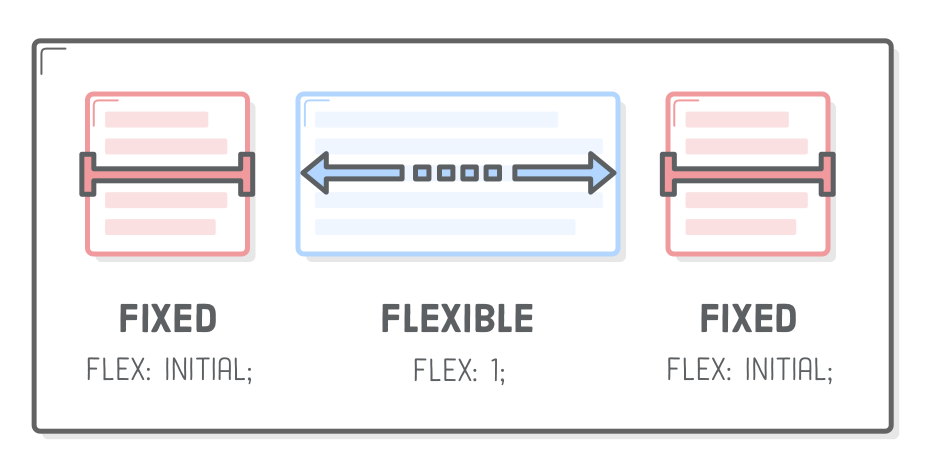
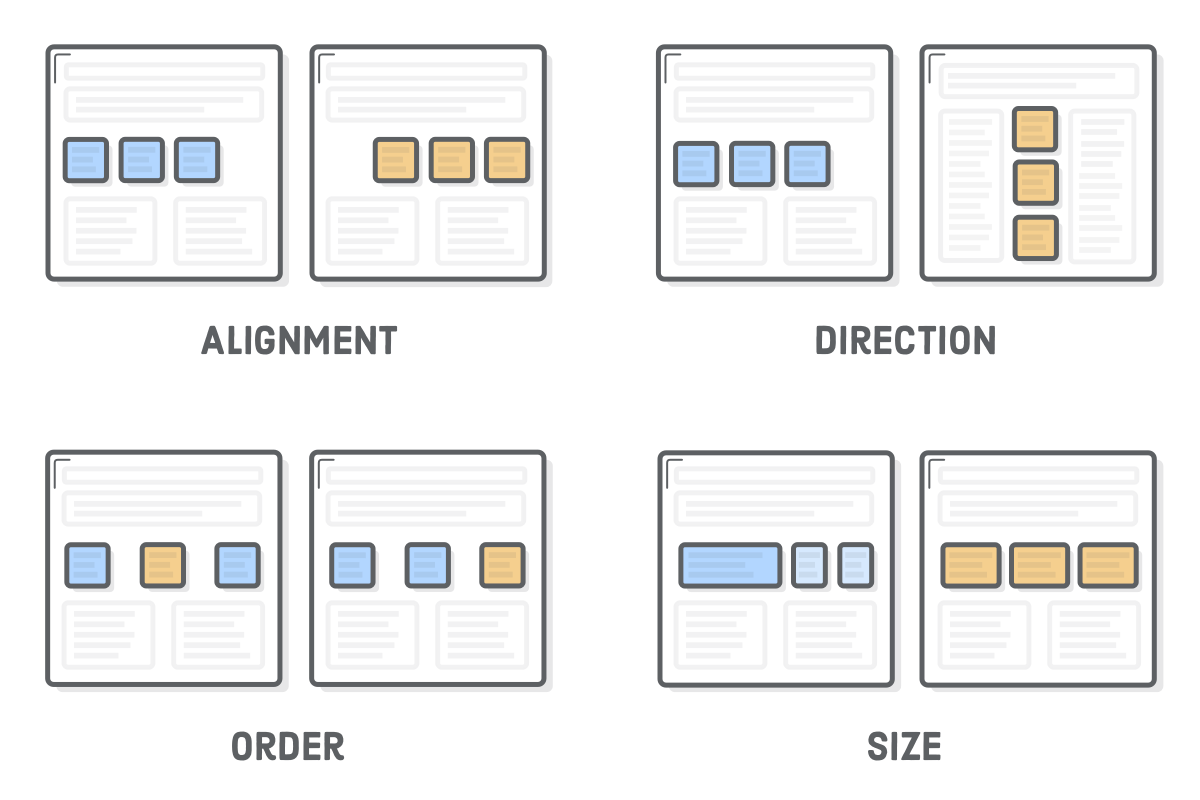
The “Flexible Box” or “Flexbox” layout mode offers an alternative to Floats for defining the overall appearance of a web page. Whereas floats only let us horizontally position our boxes, flexbox gives us complete control over the alignment, direction, order, and size of our boxes.
The web is currently undergoing a major transition, so a little discussion around the state of the industry is warranted. For the last decade or so, floats were the sole option for laying out a complex web page. As a result, they’re well supported even in legacy browsers, and developers have used them to build millions of web pages. This means you’ll inevitably run into floats during your web development career (so the previous chapter wasn’t a total waste).
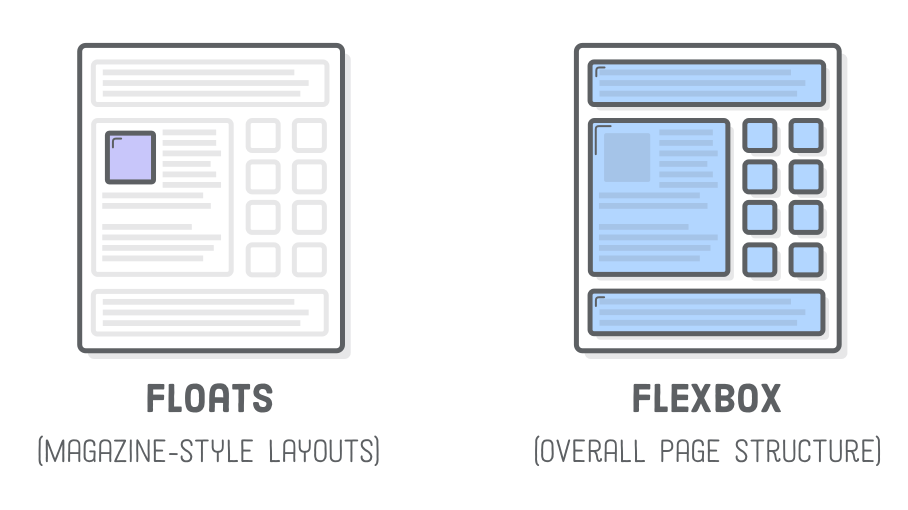
However, floats were originally intended for the magazine-style layouts that we covered in Floats for Content. Despite what we saw last chapter, the kinds of layouts you can create with floats are actually somewhat limited. Even a simple sidebar layout is, technically speaking, a little bit of a hack. Flexbox was invented to break out of these limitations.
We’re finally at a point where browser support has hit critical mass and developers can start building full websites with flexbox. Our recommendation is to use flexbox to lay out your web pages as much as possible, reserving floats for when you need text to flow around a box (i.e., a magazine-style layout) or when you need to support legacy web browsers.
In this chapter, we’ll explore the entire flexbox layout model step by step. You should walk away comfortable building virtually any layout a web designer could ever give you.
